
You buy loads of it.
You love to experiment and try different styles of dressing.
BUT, more often than not, you end up wearing the same earrings/tops/chains etc. and complain that you don't have enough...right?
That's maybe because your jewellery box looks like this! :)
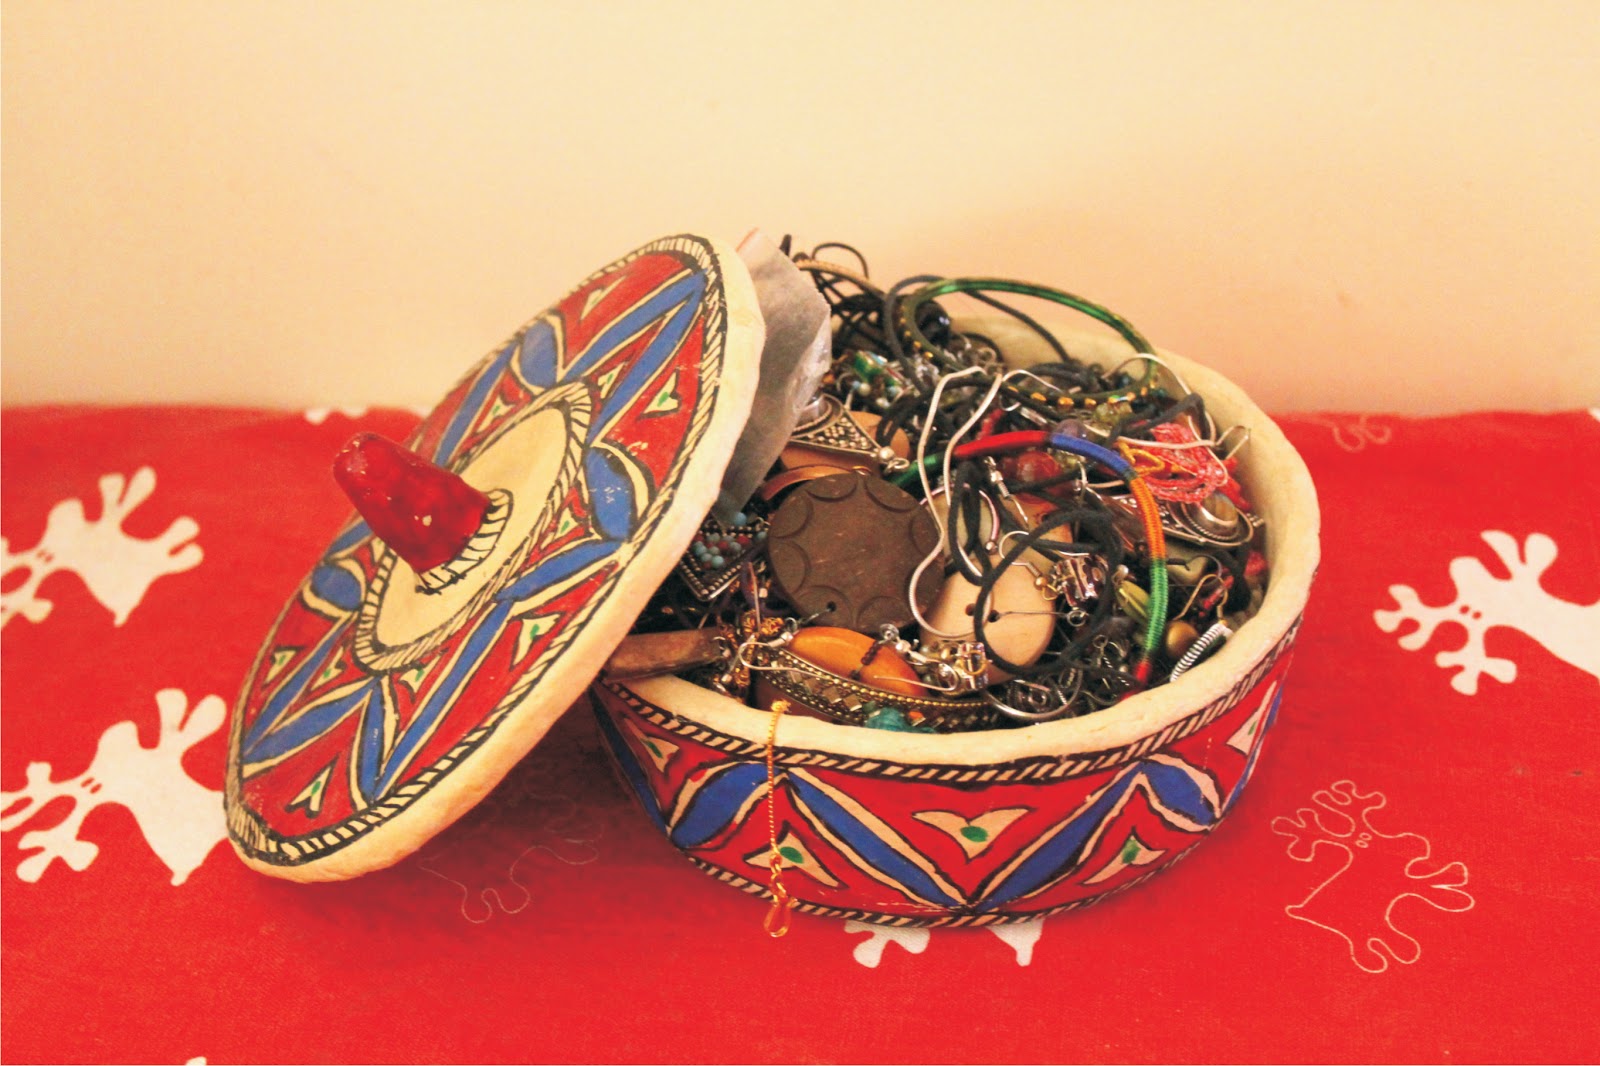
That was exactly my problem as well and this is a picture of my own bowl - a total disaster!
I was really tired of going to and fro with choosing the jewellery while dressing up and as it's the last thing one wears while getting ready, I ended up wearing the same stuff most of the time.
It's not only tedious but also boring to empty the bowl every time when you have to find the second earring and waste a good 10 minutes searching for it.
I had to put an end to this everyday madness!
While thinking about an easy solution, I tried various options like the small pouches that are readily available in the market, the very common and absolutely boring jewellery bags with millions of compartments (these are good but still not very good to store earrings/tops. Good to keep neck pieces ) or a thermocol sheet which I could poke these earrings on! Not a lasting option.
So here is my answer to the problem -

This one is a very easy and long-lasting option if not permanent...
All you need is -
1. A bowl/ box. Preferably with a cover cos you don't want dust to settle on your favourite tops.
2. Clay - I suggest clay in different colors. Single color is boring :)
Make your own -
1. Clean the bowl and ensure that it is completely dry. Select your favour color of clay and take a big chunk. Almost as big as a cricket bowl. On a flat non-sticky surface, roll on with a rolling pin/Belan to make it flat and even like a thick roti. Match the size of this roti to the base of the bowl.
2. Neatly place the clay roti in the bowl and lightly press on the ends so it stays stuck to the surface and there are no openings to let air/water seep in. To make it look neater, you can put another thin tube-layer around the edges (refer to the picture).
3. You can make any designs on the edges to make it attractive. Leave majority of the surface free to pin your earrings onto the clay.
4. Place your earrings in pairs. This way you can see all your earrings at once, remove and replace easily and TADAAA... no more last minute searching!! :)
Note: Please go for regular clay of a good company. Do not use synthetic clay as it dries up fast and becomes hard within days. You can get the clay at any toy store.
Isn't it quick and easy?!!
Now go on, make your own and share the picture soonest on design Kreeda's facebook page!
https://www.facebook.com/pages/Design-Kreeda/263405977073356
Happy dressing,
DK

No comments:
Post a Comment
Always happy to get a feedback :)